Excel Add in Installation Modelon Impact Self-managed🔗
Overview🔗
This guide is intended for Modelon Impact Self-managed users. You know that you are using Modelon Impact Self-managed if you are accessing Modelon Impact via any other URL than https://impact.modelon.cloud.
Please see these instructions if you are using https://impact.modelon.cloud.
Requirements🔗
Please see requirements section in the standard installation guide.
Additionally for Self-managed and private cloud installations, it also required that the necessary configurations have been made to enable the Excel add-in. See the Modelon Impact Operations Manual and/or contact the administrator of your installation.
Installation🔗
The procedure to install the Modelon Impact Add-In for Excel is slightly different depending if you use the Excel desktop application ("Excel desktop" hereafter) or Excel for the web.
In both cases, we need to download the manifest.xml file from the apps menu inside Modelon Impact:
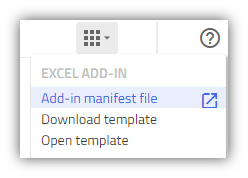
Remember where you store the file as we will need this in a later step.
Excel for the web🔗
To install in Excel for the web, we only need to upload the file we downloaded the previous step.
Uploading the manifest🔗
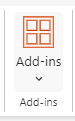
- In Excel for the web, go to the "Home"-tab and open "Add-ins":
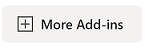
- Click "More Add-ins":
- Under "My Add-ins", click the "Manage My Add-ins" drop-down and choose "Upload My Add-in".
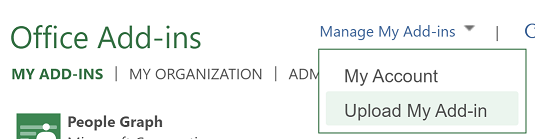
- Upload the "manifest.xml" file downloaded in a previous step.
Now you are ready to start using the add-in with Excel for the web.
Excel desktop🔗
In Excel desktop, we install the add-in by publishing the manifest to a network file share. In order to install the Modelon Impact Add-In for Excel in the desktop app you need administrator rights on your profile.
Create a shared folder🔗
- Create a new folder somewhere on your computer, for example, "C:/Manifest".
- Save the manifest.xml file in this folder.
In order to make the manifest discoverable by Excel, we need to share this folder.
- Right-click on the folder, and select "Properties".
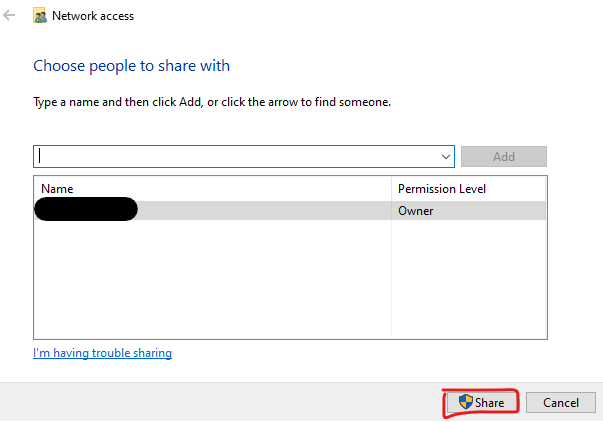
- Under the "Sharing" tab click "Share":

It's enough to share with your own user (default):
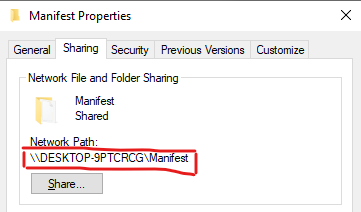
- When the folder is shared, copy the "Network Path" as we will need to add this to the trusted locations in the next step.
Add the shared folder as a trusted catalog🔗
In order to be able to load the add-in we need to add the shared folder as a trusted catalog.
- In Excel, click on the "File" tab select "Options".
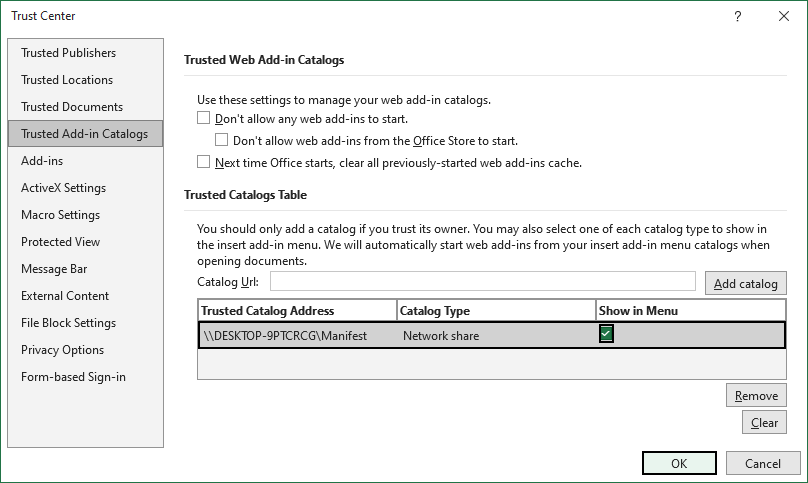
- In the Options menu, choose "Trust Center" and then click on the "Trust Center Settings" button and select "Trusted Add-in Catalogs".
- In the "Catalog Url" box, enter the full network path of the shared folder copied earlier. If you forgot to copy it earlier, you can find it in the shared folder's "Properties" dialog.
- After entering the path, click on the "Add catalog" button.
- Check the "Show in Menu" option for the newly added item, and then click OK to close the Trust Center dialog.
- Close the Options dialog by clicking OK.
To ensure the changes take effect, close and reopen the Excel application.
Load the add-in🔗
Excel should now be able to find the manifest.
- In Excel, open the "Home" tab and then open "Add-ins":
- Click "More Add-ins":
- Under "Shared Folder", Modelon Impact is now available. Click "Add" to install.
Tip
This can be administered by your company IT department to make the add-in accessible for all employees by having the manifest.xml file in a company shared folder.
Now you are ready to start using the add-in with Excel desktop.
Access the Modelon Impact Add-In for Excel🔗
A new group "Impact" should appear under the "Home" tab. Now you are ready to start using the Modelon Impact Add-In for Excel.

With the add-in installed, you are ready to run your first experiment. Please see the Get started guide.
Uninstall🔗
You can remove the add-in by clearing the cache from Excel on your computer or in your browser.
Excel desktop🔗
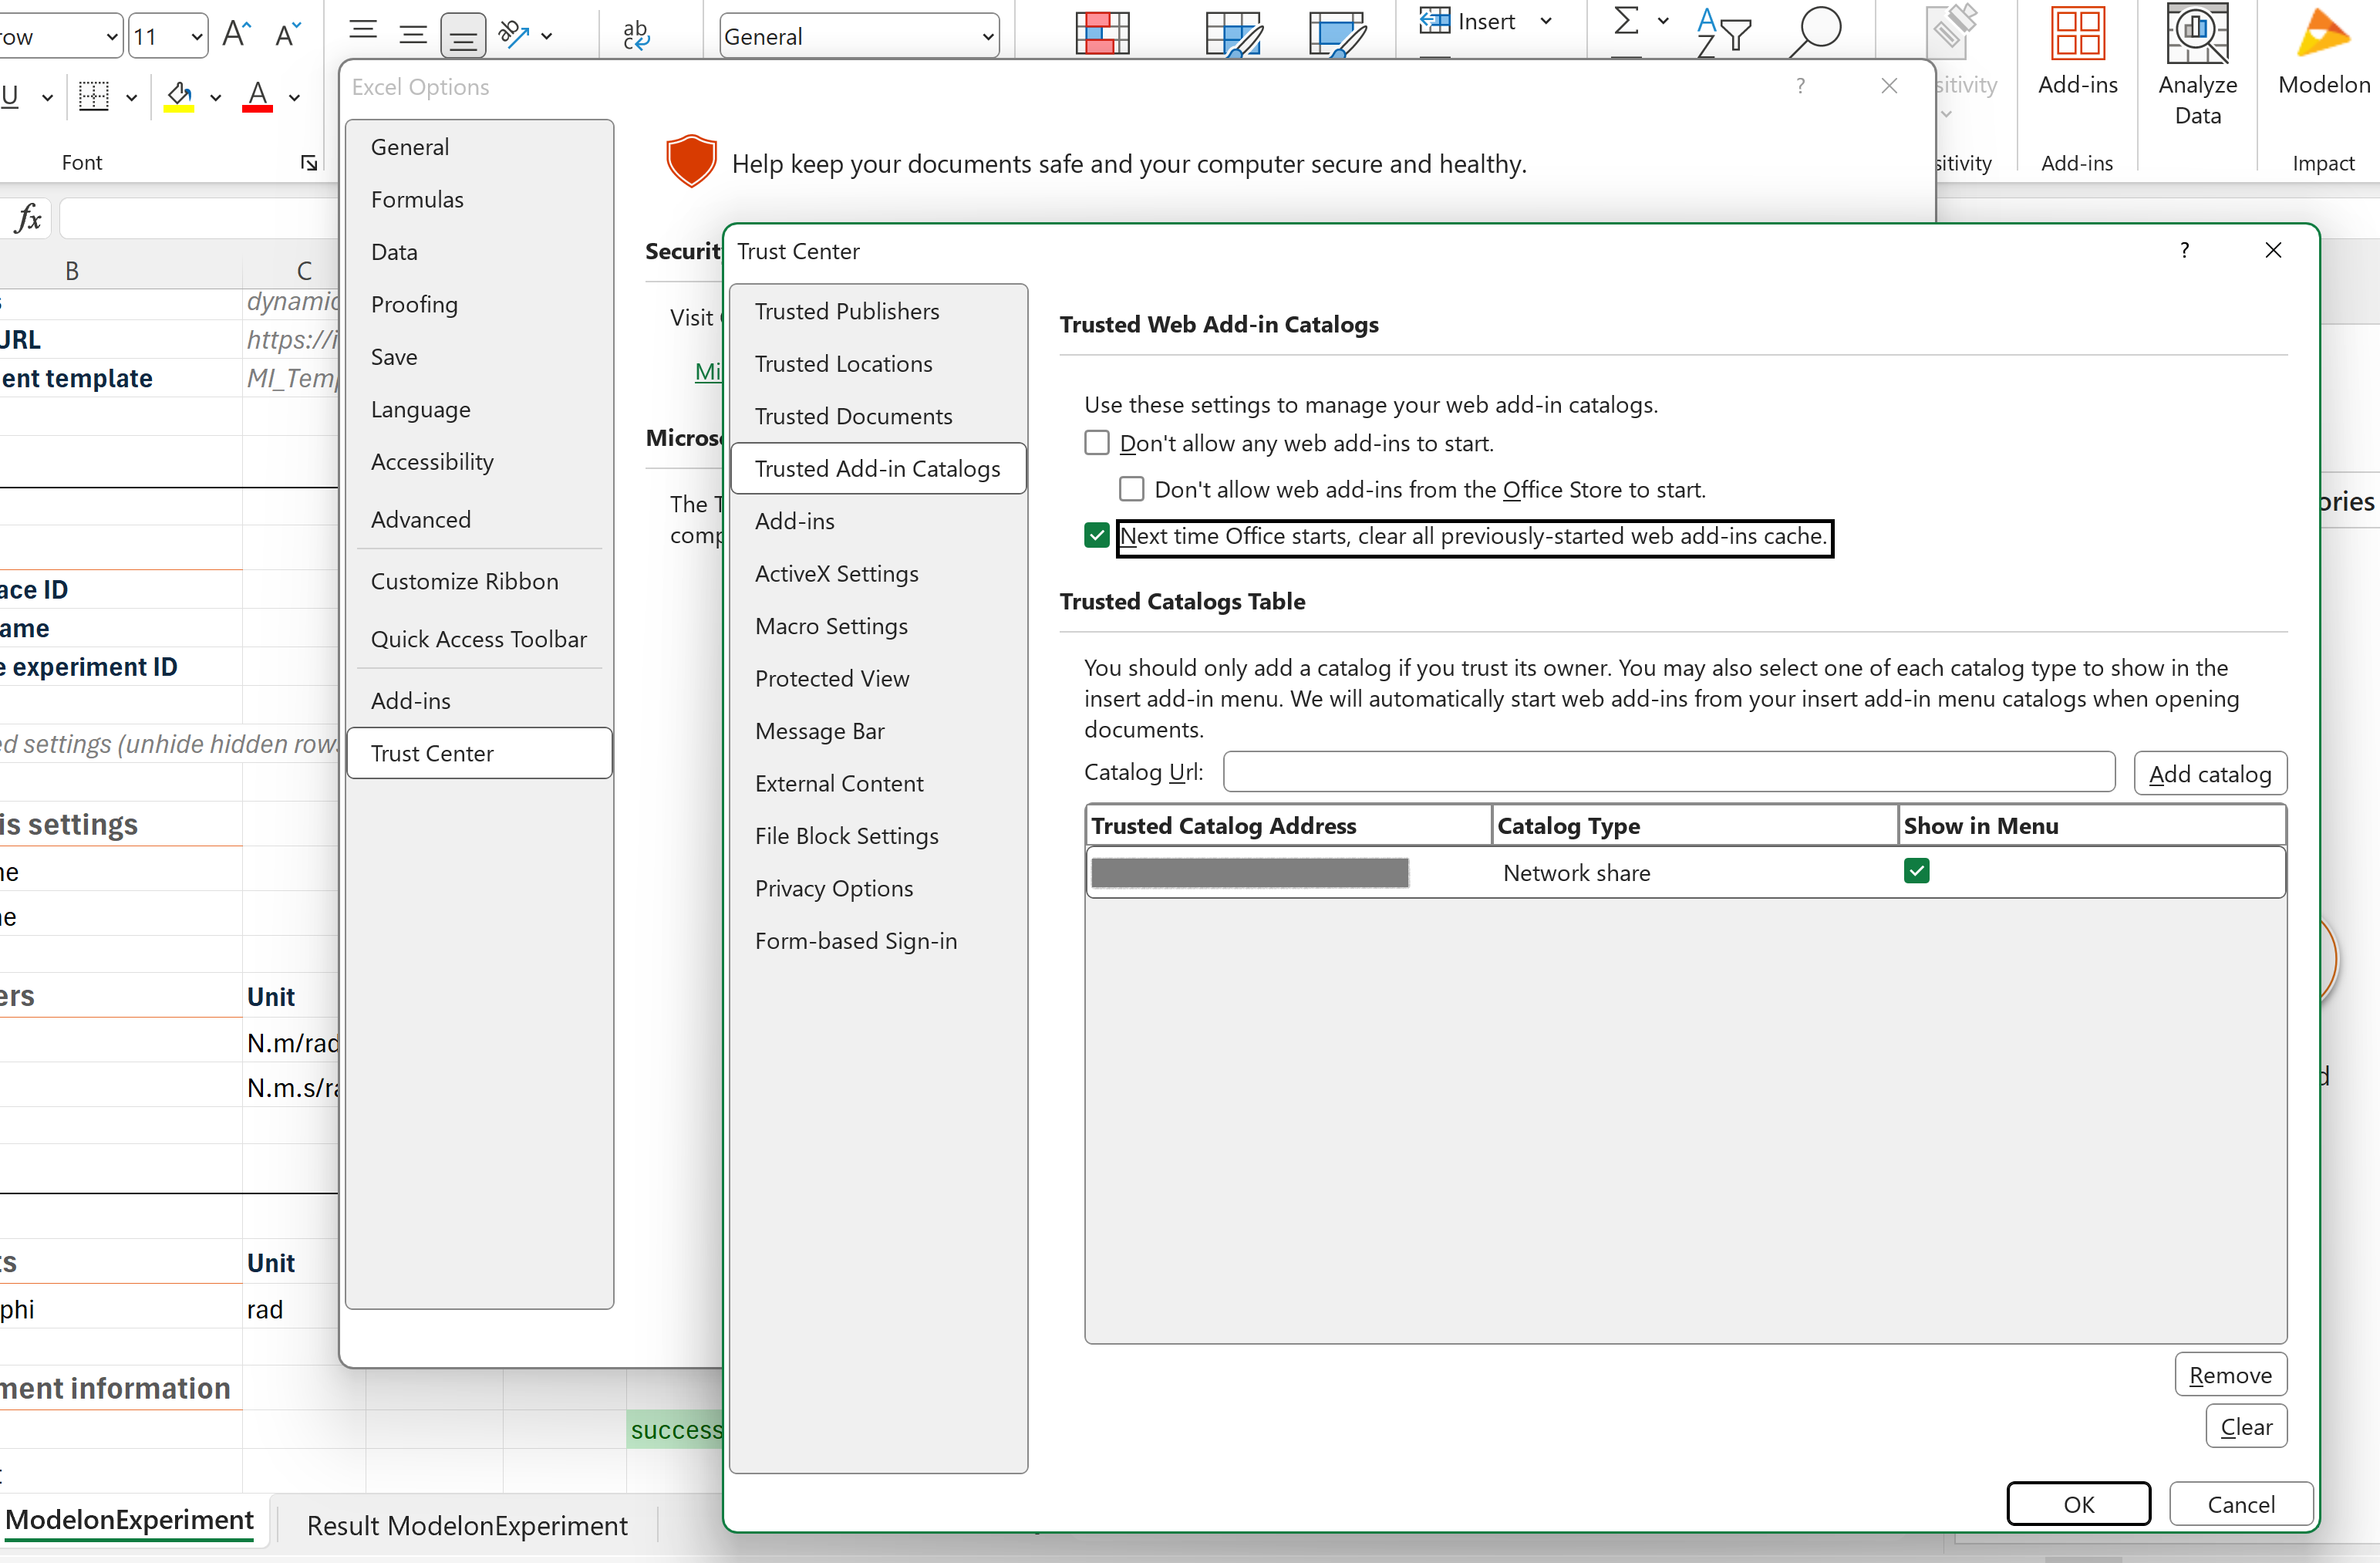
- In Excel, go to File -> Options -> Trust Center -> Trust Center Settings -> Trusted Add-in Catalogs.
- Click the checkbox "Next time Office starts, clear all previously-started web add-ins cache".
- Click OK and restart Excel.
Excel for the web🔗
To remove the add-in, simply clear your browser's cache and reload the tab with Excel for the web.
Known issues🔗
I am unable to download the manifest file?🔗
In Google Chrome it has been seen that some users are unable to load the manifest.xml file through the apps menu link. It can in many cases be solved by disabling the "Ask where to save each file before downloading".
- Access Chrome Settings by clicking on three vertical dots at the top-right corner and select "Settings".
- Click "Downloads" in the side bar and disable "Ask where to save each file before downloading".

Microsoft 365 add-in documentation🔗
Please also see Microsoft's documentation: